


Understanding the Starlink Roof Mount
What is a Starlink Roof Mount?
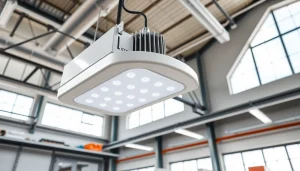
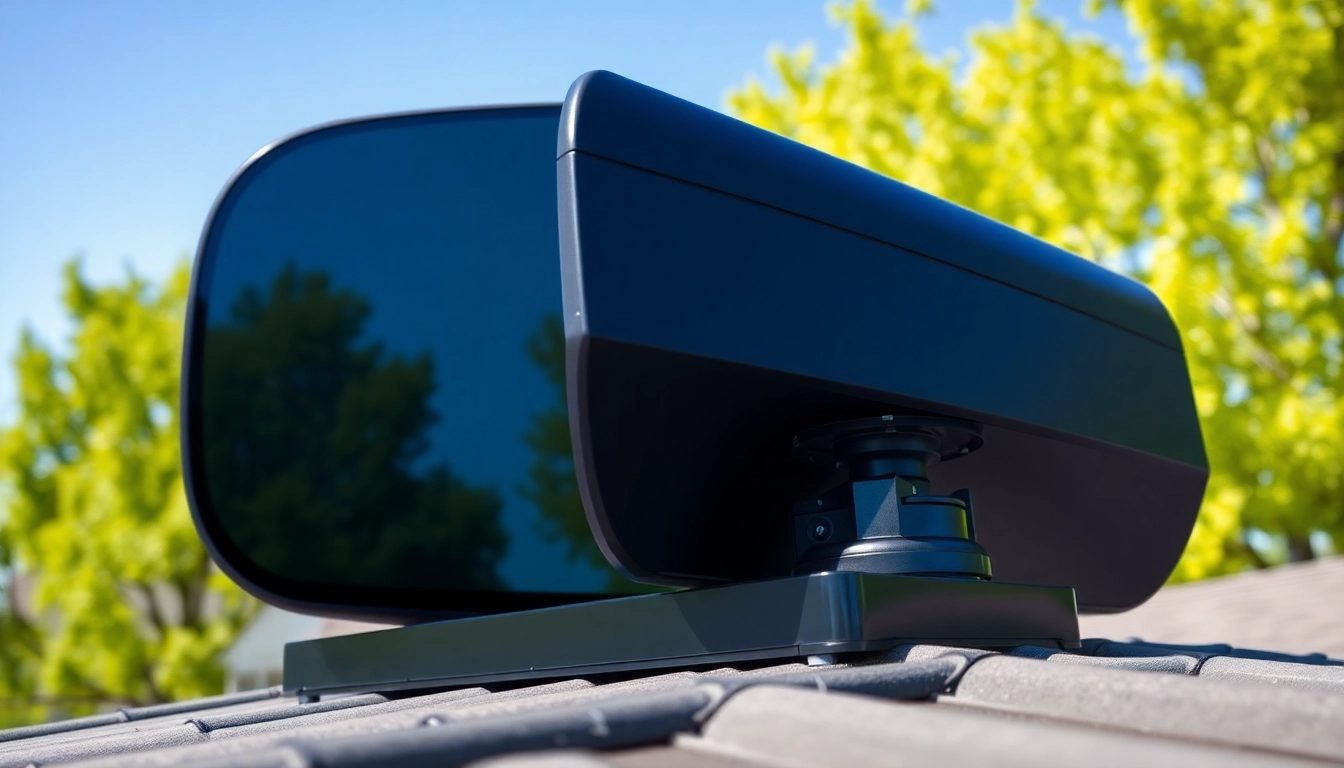
The starlink roof mount is a specialized mounting solution designed to securely hold a Starlink satellite dish on your rooftop or another elevated platform. This mounting system enables optimal positioning for the dish to maintain a clear line of sight to the satellites overhead, which is crucial for achieving the best possible internet performance. Unlike standard mounts, a dedicated roof mount offers enhanced stability, durability, and ease of installation, ensuring that homeowners or businesses can set up their Starlink systems effectively.
Benefits of Using a Starlink Roof Mount
The installation of a Starlink roof mount presents numerous advantages, which can significantly elevate internet service quality. Here are some of the key benefits:
- Optimal Signal Reception: Elevated positioning minimizes physical obstructions, enhancing connectivity.
- Durability: Designed to withstand varying weather conditions, roof mounts provide a sturdy solution against elements like wind and rain.
- Easy Installation: With tailored designs, roof mounts simplify the installation process, saving time and effort for users.
- Improved Aesthetic Integration: Many mounts are designed to blend seamlessly with the roof’s aesthetic, maintaining the property’s visual appeal.
Components of the Starlink Roof Mount
A typical Starlink roof mount consists of several essential components that work together to provide a reliable installation. These components often include:
- Base Plate: The foundational component that affixes to the roof, providing stability for the entire mount.
- Mounting Arm: A pivoting arm that allows for adjustments in angle and orientation of the dish, ensuring the best signal reception.
- Hardware and Screws: High-quality fasteners designed to endure the weight of the dish and resist rust over time.
- Weatherproofing Material: Sealing components that protect any entry points from water damage, ensuring long-term functionality of the mount.
Preparing for Installation
Tools Required for Starlink Roof Mount Setup
Before embarking on the installation of your starlink roof mount, it’s essential to gather the necessary tools. These include:
- Drill with appropriate drill bits
- Screwdriver (Phillips and flathead)
- Level for ensuring proper alignment
- Measuring tape for precise distances
- Ladder or scaffolding for reaching high areas
- Safety harness if working on a steep roof
Assessing Your Roof for Installation
Prior to installation, a thorough assessment of the roof is necessary to ensure it can support the mount effectively. Factors to consider include:
- Roof Material: Ensure compatibility with different roofing materials such as shingles, tiles, or metal.
- Structural Integrity: Inspect for signs of damage or excessive wear that may affect stability.
- Angle and Height: Determine the angle of the roof slopes and height to choose the correct mounting position for optimal signal reception.
Safety Measures to Consider
Working at heights poses inherent risks; timely safety measures are essential. Important practices include:
- Use Proper Footwear: Wear slip-resistant shoes to maintain footing.
- Employ Ladders Safely: Ensure stability and secure ladders before use.
- Use a Safety Harness: When working on steep or high roofs, always wear a safety harness.
- Work in Pairs: Having assistance can ensure a safer working environment, especially when lifting heavy materials.
Step-by-Step Installation Process
Setting Up the Starlink Roof Mount
Once the preparation phase is complete, the installation can begin. Here are detailed steps:
- Select the Installation Spot: Find a location on the roof that is free from obstructions and directionally aligned with the satellites.
- Mark the Drilling Points: Use a level to mark where the base plate will be installed.
- Drill Holes: Carefully drill holes into the roof’s surface based on the marked points.
- Seal the Holes: Apply roof sealant to the holes to prevent leaks.
- Attach the Base Plate: Secure the base plate using screws and a screwdriver, ensuring stability.
Positioning for Optimal Signal
Once the base is installed, positioning is crucial for the dish to receive signals effectively. Follow these steps:
- Attach the Mounting Arm: Secure the mounting arm to the base plate and ensure it is tight.
- Test the Angle: Adjust the angle of the mounting arm for best elevation and azimuth settings as recommended by Starlink guidelines.
- Install the Dish: Attach the dish to the mounting arm while ensuring it is securely fastened.
Securing the Mount Properly
Proper securing of the mount is essential to avoid any damage due to wind or other external forces. Use these guidelines:
- Double-check all fittings: Ensure each component is tightly secured.
- Install Weatherproofing Materials: Use weatherproofing tape or sealants to cover all entry points and create an added layer of protection against water and debris.
- Final Inspection: Conduct a thorough check to ensure the installation is stable and properly positioned.
Common Challenges and Solutions
Dealing with Roof Types
Various roof types can pose distinct challenges during installation. Here are common issues and their solutions:
- Sloped Roofs: Utilize adjustable mounts to maintain correct angle settings.
- Flat Roofs: Consider weighted bases or additional supports to prevent movement.
- Tile Roofs: Ensure a proper seal and use specialized brackets designed for tiles to avoid cracking.
Troubleshooting Signal Interference
After setup, you might experience issues with signal interference. Here’s how to troubleshoot:
- Check Obstructions: Ensure there are no nearby trees, buildings, or other objects blocking the line of sight to the sky.
- Inspect Wiring: Verify that cables are correctly connected and free from damage.
- Adjust Positioning: If necessary, make small adjustments to the orientation of the dish for improved signal reception.
Maintenance Tips for Longevity
To ensure the long-term functionality of your Starlink roof mount, consider these maintenance tips:
- Regular Inspections: Periodically check the mount and dish for any signs of wear or damage.
- Clean the Dish: Remove debris, dirt, and snow from the dish to maintain optimal signal quality.
- Retighten Mounting Components: Over time, screws can loosen; retighten them to ensure stability.
Monitoring Performance After Installation
Verifying Connectivity and Speed
After installation, it’s essential to confirm that the system is performing at optimal levels. To verify connectivity and speed:
- Run Speed Tests: Utilize online speed test tools to measure download and upload speeds.
- Check Satellite Connection: Monitor the Starlink app for updates on satellite connectivity and performance.
Adjusting Position for Best Results
Fine-tuning the position of the dish can lead to better performance outcomes. Here’s how to adjust:
- Use the Starlink App: Access the application that provides feedback on signal strength.
- Make Incremental Changes: Adjust the angle of the dish slightly and test performance after each adjustment.
Evaluating Long-term Performance Metrics
Regularly evaluating the performance of your Starlink service is crucial for ongoing satisfaction. Consider these metrics:
- Uptime: Monitor the reliability of the internet connection over time.
- Latency: Note any changes in latency measurements that could affect usage.
- Bandwidth Usage: Regularly check the amount of data being consumed to ensure you’re meeting your needs.


+ There are no comments
Add yours